happy birthday pdf

Happy Birthday PDF Templates⁚ A Guide to Creating Personalized Greetings
Happy Birthday PDF templates offer a convenient and creative way to design personalized greetings for loved ones. These templates provide a starting point for crafting unique cards, invitations, and other celebratory materials. With a range of designs to choose from, users can easily customize fonts, colors, images, and messages to create heartfelt and memorable birthday wishes.
Online Birthday Card Makers⁚ The Convenience of Digital Design
Online birthday card makers offer a convenient and user-friendly approach to creating personalized greetings. These digital platforms provide a wide array of templates, fonts, graphics, and customization options, allowing users to craft unique and heartfelt birthday cards without the need for traditional card-making supplies. The convenience of online card makers lies in their accessibility, allowing users to create and print cards from anywhere with an internet connection.
Many online card makers offer free templates and basic features, while premium subscriptions often unlock more advanced design tools, a wider selection of templates, and additional customization options. The process of creating a card is typically intuitive, with drag-and-drop functionality and user-friendly interfaces.
Users can personalize their cards by adding text, images, and decorative elements, creating a truly unique and meaningful birthday greeting. Some online card makers even allow users to add music, animations, and interactive elements to enhance the overall experience. Once the card is designed, users can easily download and print it or share it digitally through email or social media.
Free Printable Birthday Card Templates⁚ A DIY Approach
For those who prefer a hands-on approach to creating birthday greetings, free printable birthday card templates offer a delightful DIY option. These templates provide a blank canvas for creativity, allowing users to personalize every aspect of their card design. Numerous websites offer free printable birthday card templates in various styles, from classic and elegant to whimsical and humorous.
These templates are typically available in PDF format, which ensures that the layout and design remain intact when printed. Users can customize the templates by adding their own text, images, and decorations. They can choose from a wide variety of fonts, colors, and graphic elements to create a truly unique and personal touch.
Free printable birthday card templates allow users to express their creativity and create a heartfelt and memorable greeting for their loved ones. The process of printing and customizing these templates can be a fun and rewarding experience, adding a personal touch to birthday celebrations. Whether you’re looking for a simple and elegant design or a playful and colorful card, free printable templates offer a wide range of options to suit every taste and occasion.
Adobe Express⁚ A Powerful Tool for Birthday Card Creation
Adobe Express emerges as a powerful and user-friendly platform for crafting stunning birthday cards. This online design tool offers a vast library of professionally designed templates, catering to various styles, themes, and ages. Whether you’re seeking a classic, modern, or quirky design, Adobe Express has a template to suit your preferences.
The intuitive drag-and-drop interface makes customization a breeze. Users can personalize the templates by adding their own text, images, and graphics. Adobe Express provides a wide array of fonts, colors, and design elements to enhance the visual appeal of the card. Users can also incorporate their own photos to create a truly personal touch.
Once the card is designed to perfection, Adobe Express allows users to download it in various formats, including PDF. This ensures that the card retains its high quality when printed or shared digitally. Adobe Express simplifies the process of creating personalized birthday greetings, empowering users to express their creativity and create memorable cards that will be cherished by recipients.
SwifDoo PDF⁚ Creating Birthday Cards with Ease
SwifDoo PDF presents a user-friendly solution for crafting personalized birthday cards. This versatile PDF editor empowers individuals to design and create unique greetings with ease. The software offers a range of features that simplify the card creation process, making it accessible for users of all skill levels.
SwifDoo PDF provides a collection of ready-to-use birthday card templates. These templates serve as a starting point for customization, allowing users to modify fonts, colors, and images to reflect their personal style. The software also enables users to import their own images, ensuring a truly personalized touch. With its intuitive interface and straightforward tools, SwifDoo PDF makes creating visually appealing birthday cards a simple and enjoyable experience.
The software allows users to add text, images, and other elements to the templates, creating a unique and heartfelt message for the recipient. Once the card is complete, SwifDoo PDF allows for easy printing, ensuring that the final product is ready to be shared with loved ones. SwifDoo PDF streamlines the creation of personalized birthday cards, offering a convenient and efficient solution for expressing warm wishes.
Birthday Card Templates⁚ Finding the Perfect Design
The key to a successful birthday card lies in selecting a design that resonates with the recipient. Finding the perfect template involves considering the recipient’s personality, interests, and the overall tone you wish to convey. With a vast array of templates available, exploring different styles is crucial to finding the ideal match.
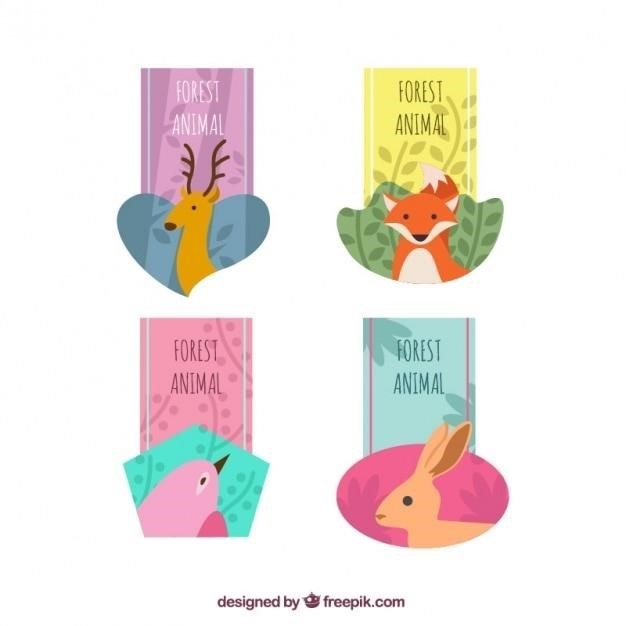
For those seeking a touch of whimsy, templates featuring adorable animals, playful illustrations, or vibrant colors can add a delightful touch. If a more sophisticated aesthetic is desired, elegant designs with intricate patterns, muted tones, or minimalist elements can create a refined feel. The choice ultimately comes down to personal preference and the relationship with the recipient.
When browsing templates, it’s essential to consider the occasion’s significance. A milestone birthday might warrant a more elaborate design, while a casual gathering might be best suited by a simple and humorous template. Ultimately, the perfect birthday card template is one that reflects your sentiment and brings joy to the recipient. This search for the perfect design makes the card a thoughtful gesture that goes beyond a simple greeting.
Essential Elements of a Birthday Card
While a visually appealing design sets the stage, the true heart of a birthday card lies in its content. A well-crafted message is the cornerstone of a meaningful greeting, conveying your warmth, appreciation, and best wishes. There are several key elements that contribute to a heartfelt and impactful message.
A sincere expression of happiness for the recipient’s special day is essential. This could be a simple “Happy Birthday!” or a more elaborate sentiment expressing your joy for their existence. Personalizing the message by referencing shared memories, inside jokes, or qualities you admire adds a unique touch. A heartfelt wish for a fulfilling year ahead, filled with joy, success, and love, is a thoughtful gesture.
A heartfelt birthday card is a tangible expression of your feelings, leaving a lasting impression on the recipient. The combination of a thoughtful design and a genuine message creates a lasting keepsake that celebrates the bond between you and the birthday celebrant.
Happy Birthday Coloring Pages⁚ A Fun Activity for Kids
Happy Birthday coloring pages offer a delightful and engaging activity for children, providing a creative outlet for expressing their birthday wishes. These printable pages feature various birthday themes, including colorful balloons, festive cakes, playful animals, and adorable characters, each waiting to be brought to life with vibrant colors. Kids can unleash their imagination and artistic talents, transforming these blank canvases into personalized masterpieces;
Coloring pages provide a wonderful way for kids to participate in birthday celebrations, fostering a sense of involvement and creativity. These pages not only entertain but also promote fine motor skills, hand-eye coordination, and color recognition. They serve as a fun and engaging way for children to express their love and well wishes to the birthday celebrant. Whether it’s for a friend, sibling, or a special someone, happy birthday coloring pages offer a delightful and memorable activity that sparks joy and creativity.
Birthday Greetings for Men⁚ A Guide to Masculine Wishes
Finding the perfect birthday wishes for men can be a challenge, especially if you want to express your sentiment in a way that resonates with their personality and interests. While a simple “Happy Birthday” might suffice, a more thoughtful message that acknowledges their accomplishments, hobbies, or shared experiences can make the greeting truly special. Consider incorporating elements that speak to their masculinity, such as acknowledging their strength, resilience, or sense of adventure. Perhaps a heartfelt tribute to their achievements or a playful reference to a shared inside joke would add a personal touch.
Masculine birthday wishes often focus on themes of respect, admiration, and camaraderie. Expressing appreciation for their presence in your life, acknowledging their unique qualities, or sharing a fond memory can create a meaningful and memorable greeting. Remember, the key is to be genuine and authentic, conveying your sincere wishes for their happiness and well-being. Whether you opt for a classic, heartfelt message or a humorous and lighthearted approach, strive to make your birthday wishes for men feel personalized and impactful.
Birthday Wishes⁚ Finding the Perfect Words
Finding the perfect birthday wishes can be a delightful challenge, especially when you want to express your heartfelt sentiments for a loved one. Whether it’s a close friend, a family member, or a significant other, the words you choose should reflect your genuine affection and admiration. Consider their personality, shared experiences, and the unique bond you share. Do they appreciate humor, sentimentality, or a touch of nostalgia?
Instead of relying on generic greetings, personalize your wishes with specific memories, inside jokes, or qualities that you admire. A heartfelt message that highlights their accomplishments, their kindness, or their ability to make you laugh can make a significant impact. Don’t be afraid to express your gratitude for their presence in your life and your hopes for their happiness and fulfillment. Remember, the power of words lies in their sincerity, so let your feelings flow freely and create a birthday message that will be treasured.
Happy Birthday Puns⁚ A Collection of Funny Greetings
Happy birthday puns are a fantastic way to inject humor and lightheartedness into your birthday greetings. These playful wordplays can create a chuckle and make the recipient smile. Whether you’re sending a card, a text message, or a social media post, a well-placed pun can add a touch of whimsy and make your wishes stand out.
Think about the person’s interests, hobbies, or personality. For example, if they’re a coffee enthusiast, you could say, “I hope you have a brew-tiful birthday!” Or, if they’re a sports fan, you could wish them “a winning birthday.” The key is to keep it light, playful, and relevant to their personality. Don’t be afraid to get creative and let your punny side shine. After all, a little laughter can go a long way in making someone’s birthday extra special.
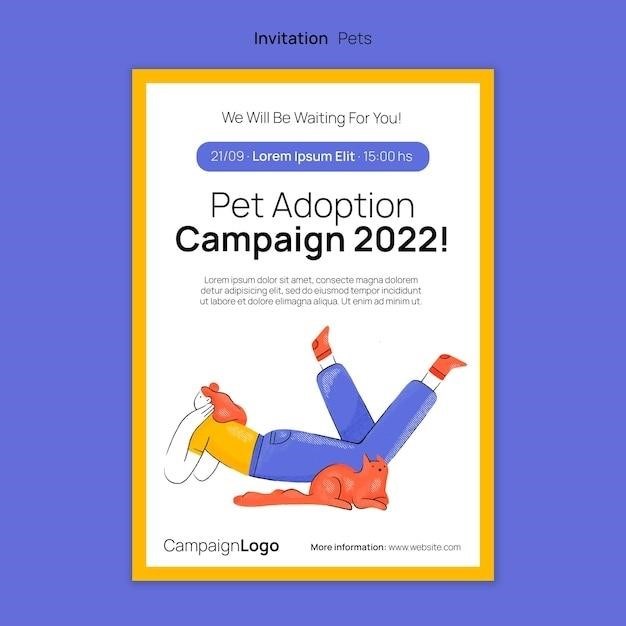
Birthday Invitations⁚ Printable Templates for Every Occasion
Birthday invitations are a crucial element in setting the tone for any celebration. Printable templates offer a convenient and customizable solution for creating eye-catching invitations that reflect the theme and style of your party. From whimsical designs for children’s parties to elegant templates for adult gatherings, there’s a wide array of options to choose from.
These templates allow you to personalize the invitation with essential details such as the date, time, location, RSVP information, and a special message. You can also add personal touches like photographs, graphics, or embellishments to make your invitation truly unique. With the ease of printing at home, you can save money and create invitations that are as special as the occasion itself. Whether it’s a casual backyard barbecue or a formal dinner party, printable birthday invitation templates provide a simple and effective way to spread the word about your celebration.
Birthday Status Updates⁚ Making Your Wishes Stand Out
In the digital age, birthday wishes often extend beyond physical cards and take the form of social media status updates. A well-crafted birthday status update can be a fun and engaging way to celebrate a loved one’s special day. To make your wishes stand out, consider incorporating creative elements and personal touches.
Start with a heartfelt message expressing your love and appreciation for the birthday person. Add a personal anecdote or inside joke to make the message more meaningful and memorable. Include a relevant photograph or video clip to enhance the visual appeal of your post. You can also use emojis or GIFs to add a touch of humor or emotion. Don’t forget to tag the birthday person and encourage others to join in the celebration by leaving their own birthday wishes.
Remember, the key to a successful birthday status update is to make it authentic and heartfelt. By putting some thought and effort into your message, you can create a post that will truly make the birthday person feel special.
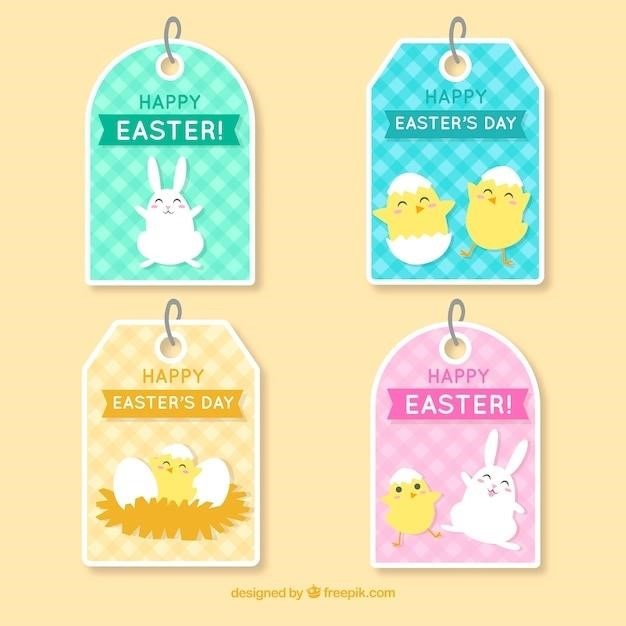
Birthday Templates⁚ A Variety of Options for Every Occasion
The world of birthday templates offers a wide range of options to suit every taste and occasion. From playful and whimsical designs for children’s parties to elegant and sophisticated templates for milestone birthdays, there’s something for everyone. Whether you’re looking for invitations, cards, decorations, or even personalized gifts, you’ll find a plethora of templates to inspire your creativity.
Many online platforms offer free and premium birthday templates in various formats, including PDF, JPG, and PNG. These templates can be easily customized with your own text, images, and colors using readily available software. You can also find templates specifically designed for different themes, such as superhero parties, princess parties, or tropical getaways.
With so many options at your fingertips, you can create unique and personalized birthday materials that reflect the personality and interests of the birthday celebrant. Whether you’re a seasoned designer or a complete novice, birthday templates provide a convenient and user-friendly way to add a special touch to any celebration.